This year I made a bunch of small quilts for Christmas using my 5 year old's drawings. I have been saving drawings for a while, intending to embroider them. But I really don't have a lot of embroidery training, and although I like the way it looks so much, I don't have the patience, really. I am an immediate gratification kind of person. So I made these.
I start by tracing the drawing onto white or cream muslin. I just used a pencil because I can never find my wash out pen and I've decided to stop buying a new one every time I need one. So, trace it onto the fabric. Then I just start sewing strips of fabric around the center, log cabin style. I go specifically for wonky here and I am never very careful about measuring my finished size, in fact I just eyeball it, making it bigger than I need.

Choosing the fabric is my favorite part of the project. I just have a thing for making color and pattern combinations. Really, it's the most fun.
Then I pin a piece of batting and backing fabric to the back, um, obviously and just start sewing. I use a lot of pins and start out by sewing the picture. I just shorten my stitch, let up on my tension, and go really slow. I go over each line two or three times, and sort of break the drawings into sections in my mind so I can sew them easily.
After sewing the drawings, I change the thread to white or pink or something coordinating, and just quilt all around in a square spir

al, through the log cabin parts.
Next I add any hand stitching, appliqué or buttons. The back of the snowman quilt actually got kind of messy, so I stitched another piece of fabric over the back, to hide the mess. I think maybe it just made it look messier.
Next I wash and dry them to crinkle them up and fray the edges.
Then I just sandwich them into frames. Some of them really didn't fit into the frames (remember that I totally didn't measure?) So I just cut into them until they fit, then washed and dried them again to refray the edges. Some of them fit the frame size pretty closely, and some of them are smaller so they kind of "float" in the frame, with a piece of colored paper behind them. Oh, and I actually bound one of them and added a hanging sleeve on the back. I just felt that it should be free.

There are no rules in this type of little quilt. I just looked at them and tried to think of what should go where. You probably notice influences from some other craft bloggers. With all the great inspiration out there, it kind of just mixes together into our projects, doesn't it?
This was a fun project for me, but of course my daughter Zoë felt like I totally wrecked her drawings with some of the colors that I chose. I guess that's what happens in collaboration some times.
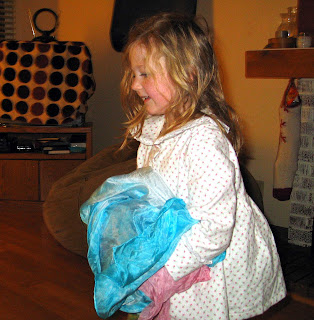
 This year Santa brought play silks for Zoë. We bought them from Dharma Trading Company. I bought seven of the 35" square Habotai scarves and two of the 35 X 84" veils. I think some people use the satin silk scarves for play silks but I like the low sheen of the Habotai a little better. The veils are definitely thinner silk than the scarves, but that just makes them more fluttery.
 I dyed them in the microwave which was super fun, I have to say. I followed this tutorial. Since there was really no mess, I could dye these one at a time, here and there whenever Zoë was out of the house for a few minutes.


